User Tools
Sidebar
This is an old revision of the document!
gearbox
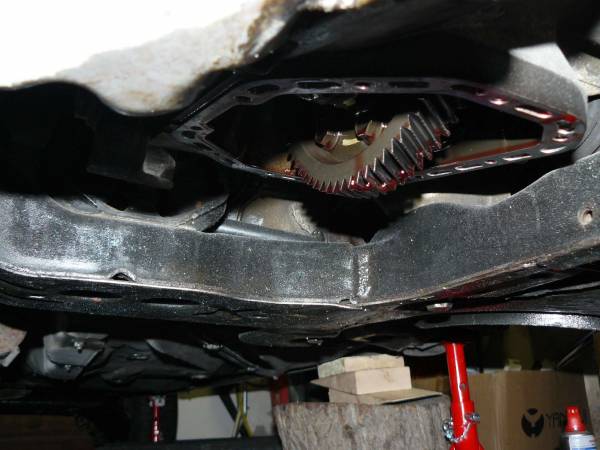
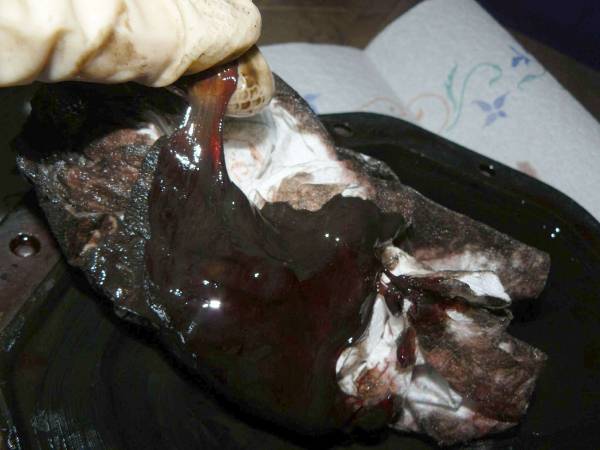
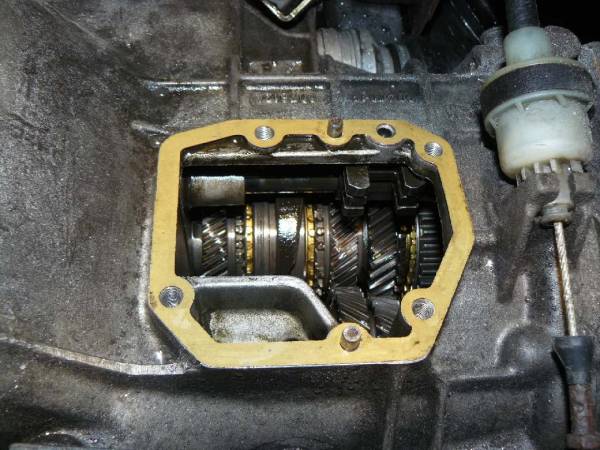
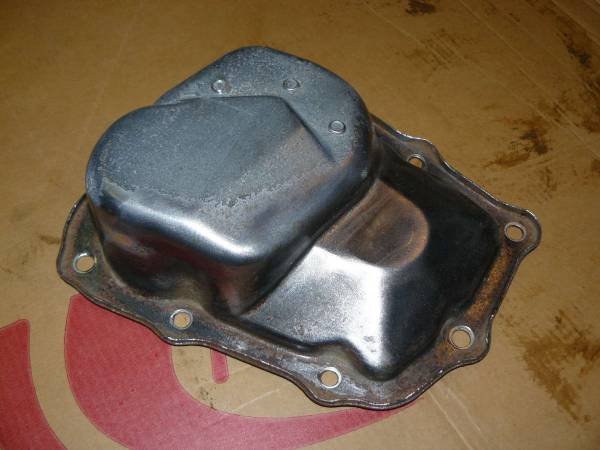
Already before pulling out the half-shafts, I drained the gearbox by removing the bottom cover. While the gear oil that ran out still looked ok, I found some disgusting “jelly” that had built up in the bottom cover. Gear oil, by the way, smells like the stale urine of a diabetic tomcat.
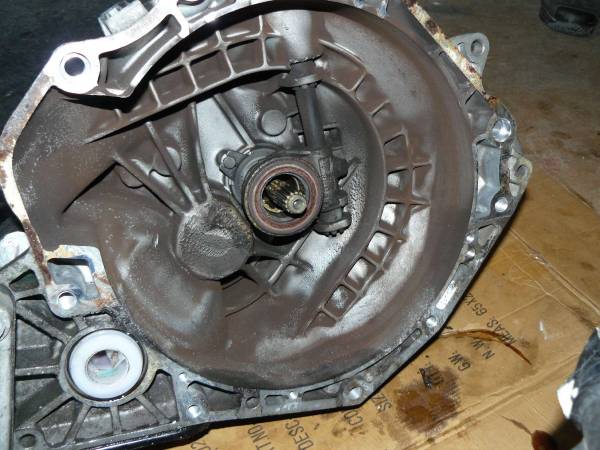
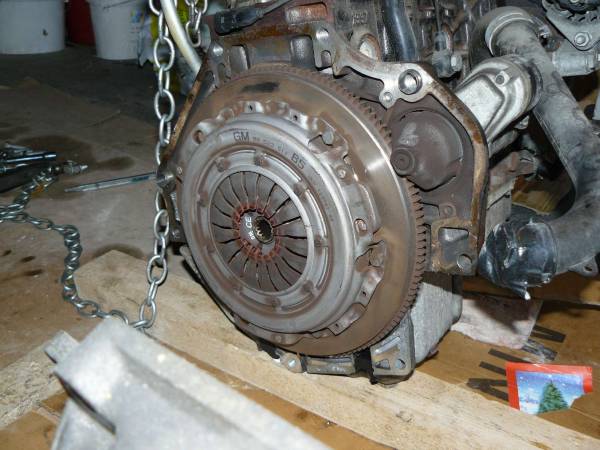
After the engine and gearbox had been removed from the engine bay, they were separated. Left side: gearbox. Right side: Engine with flywheel, starter and clutch.
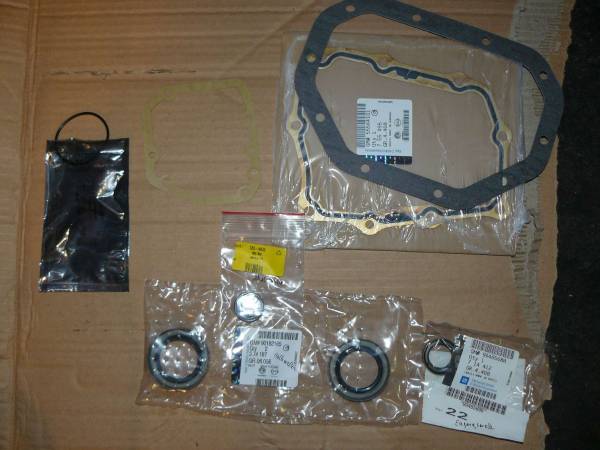
New gaskets, including the seal rings for input shaft, half-shafts and gear selector shaft.
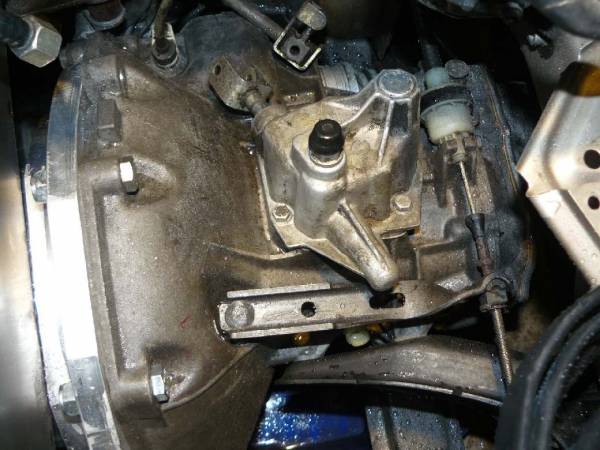
Side view of the gearbox with selector fork.
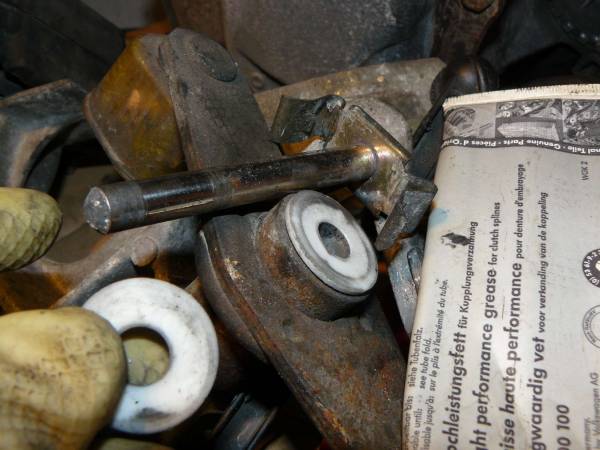
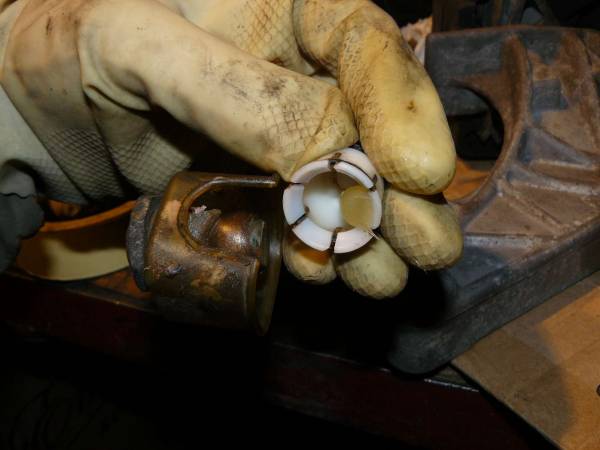
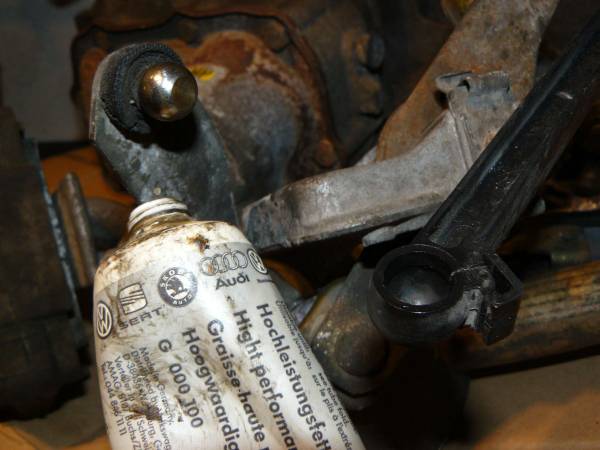
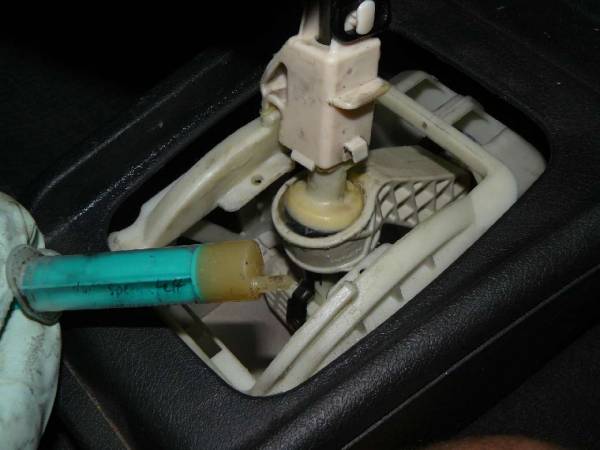
Joints and bearings of gear selector shaft, gear lever and all the moving parts in between are getting some attention.
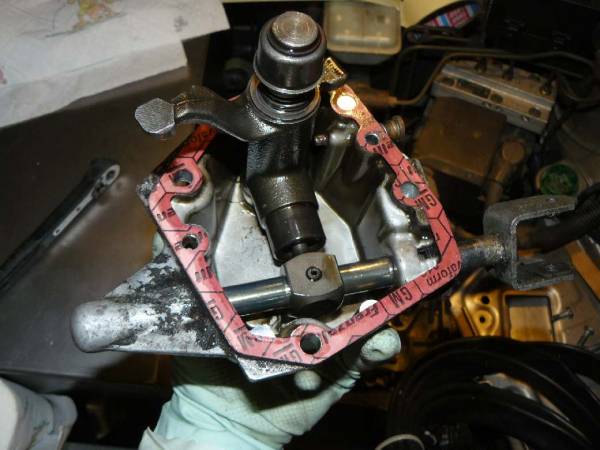
The top dome of the gearbox with gear selector shaft is being removed. Note that the next three pictures were taken at a later time. On the next photo (left side), you already see the the motor joined with the gearbox. Right side: bottom view of the top dome.
I learnt that for reassembly, the sliders and the “finger” of the gear selector shaft must be aligned correctly.
Side cover cleaned, ready for painting.
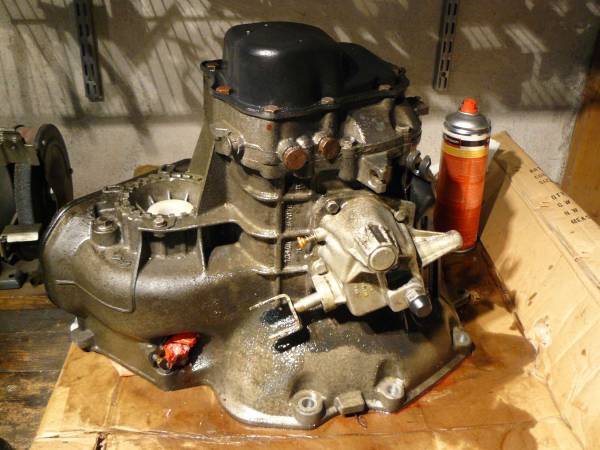
Re-assembled gearbox. It is still drooling gear oil …
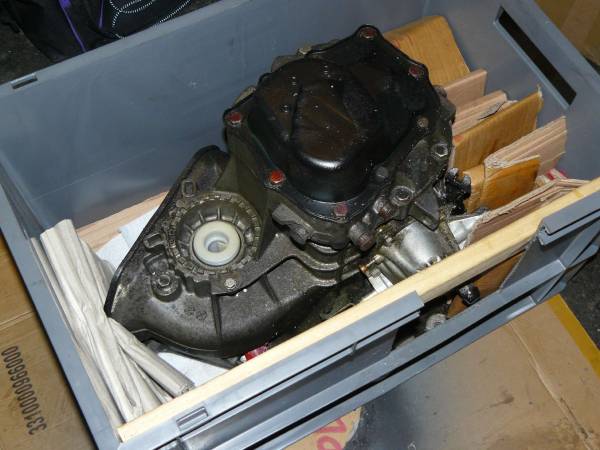
For customization of the adapter plate, the gearbox is prepared for shipment to Marco and Rainer Lorey in Germany.
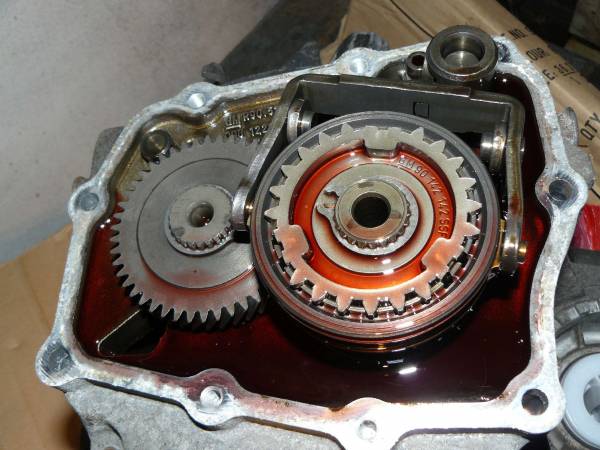
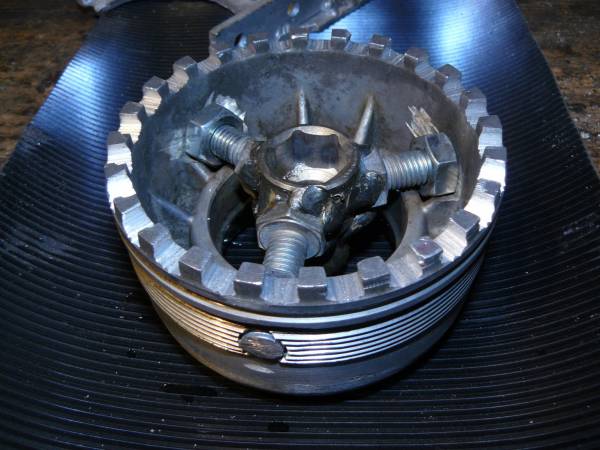
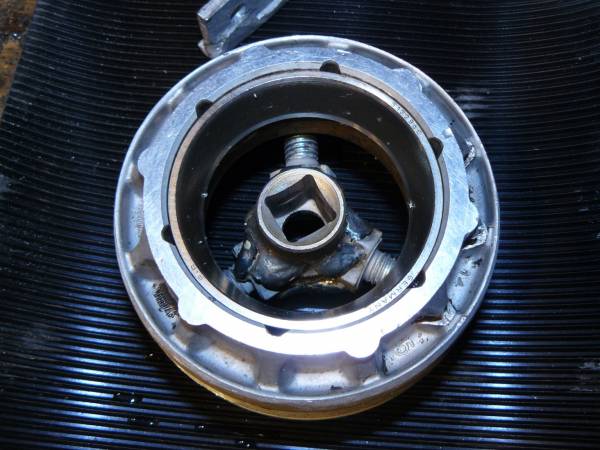
After taking the gearbox into operation again, it turned out that the radial clearance of the half-shaft bearings was too high. These bearings can be tightened by turning the toothed bearing ring, which is also visible on the two pictures above. A special tool is required to turn it. Since this tool was not available, I had to make my own one, out of an old bearing ring:

