User Tools
Sidebar
Table of Contents
auxiliary frames
overview
The engine bay is a very inconvenient place to mount things. Surfaces where you might bolt something to are usually not there where you need them, and also they are mostly not flat. Also, in most cases you dont have easy access from both sides to place a counter nut.
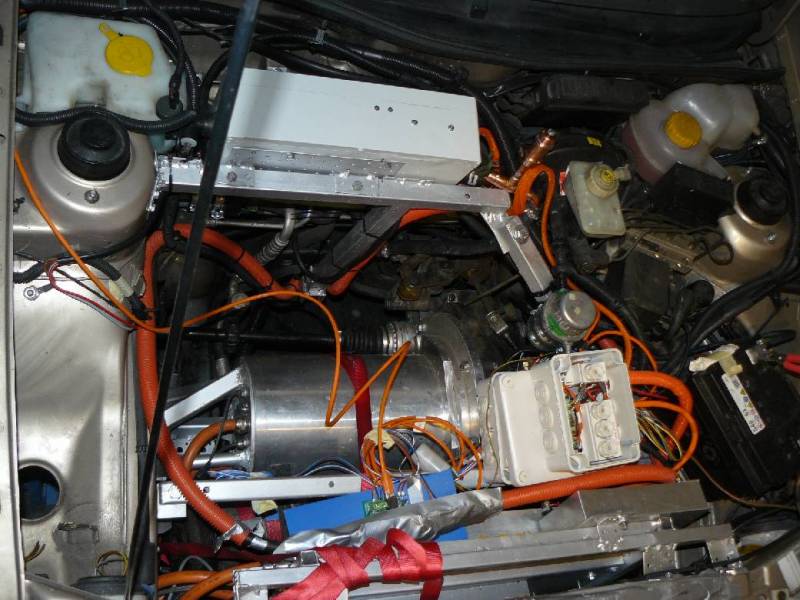
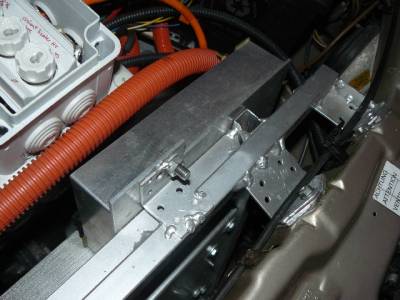
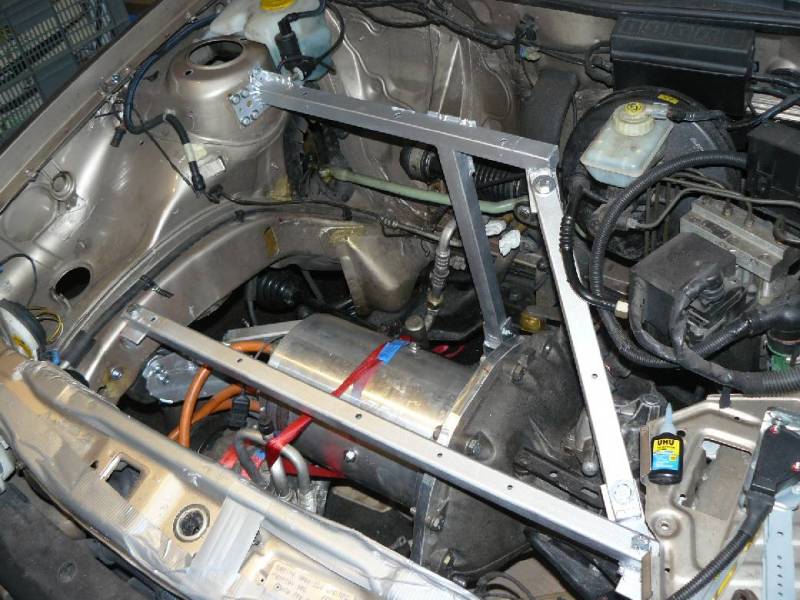
So, I made two auxiliary mounting frames. The “controller” frame sits in the place where the coolant radiator was before. It holds the motor controller and the main DC/DC converter, which both require an air flow for cooling. These frames are then mounted to the chassis only at a few points.
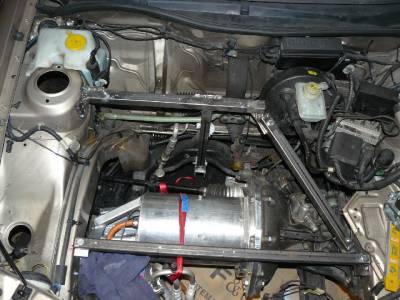
The “battery box” frame goes across the engine bay, holding the front battery box, coolant liquid heater, wiring boxes and the vacuum pump.
A little “preview” of both frames at a later time, with above mentioned devices already installed and disgustingly infested by provisional wiring.
controller frame
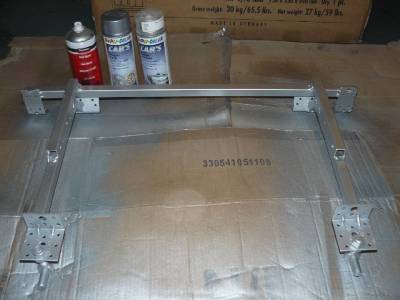
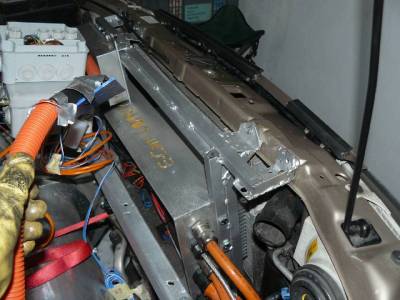
The controller frame makes use of the same mounting points as the coolant radiator did before: Two rubber bearings at the bottom, that go into holes of the car's chassis, and four M6 bolts at the top.
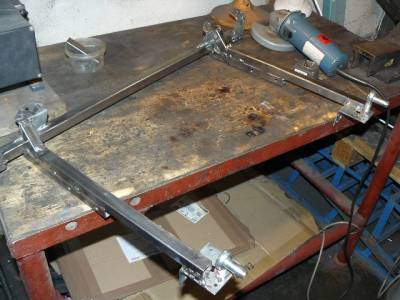
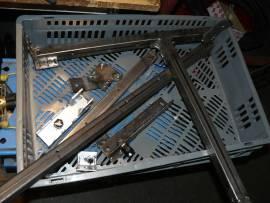
View of the controller frame, raw and with shiny make-up.
With controller box and DC/DC-converter (the silver box at the driver side end).
battery box frame
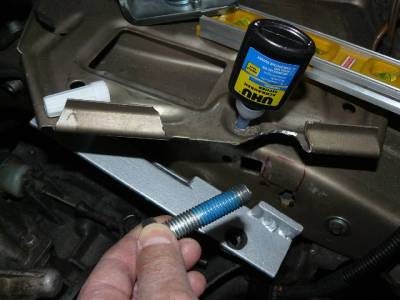
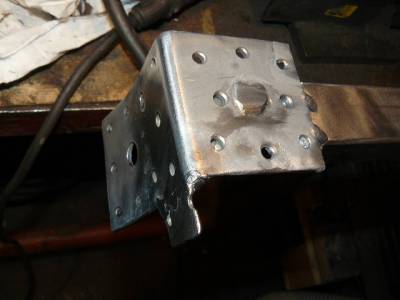
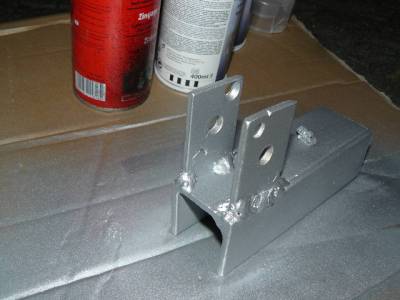
The beams of the battery box frame rest on supports that are bolted to the chassis, re-using holes that were already existing. This was an obligation by TUEV; welds on the chassis are forbidden, and drilling of new holes must be avoided as far as possible.
I also took care that the auxiliary frame does not affect the crash performance of the car: There are no unwanted “enforcements” to the chassis beams, that might prevent them from deforming as intended. I also avoided beams that go in driving direction, that might penetrate the dashboard in case of a crash.
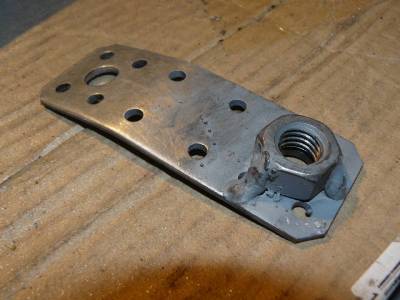
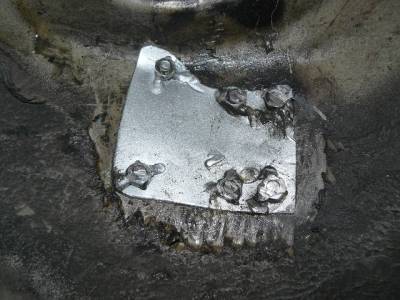
Here, a bolt goes into a counter nut welded to a plate, that is inserted into the chassis beam. Needless to say that it was quite tedious to get the counter nut into the correct position. Accidentially dropping it into the narrow and curved beam meant hours of frustrating effort to get hold of it again …
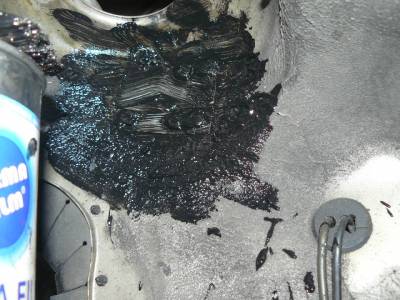
The passenger side end of the rear beam aligns with the round dome for the suspension strut. It is bolted to the strong sheet-metal of the dome. The counter nuts are welded onto a common plate to ease the assembly. Before mounting, the counter-plate was of course generously soaked with Mike Sander's indispensable anti corrosion grease.
Here, the outer surface is additionally covered with PermaFilm protective wax.
This support is bolted to the main transversal beam of the front axle.
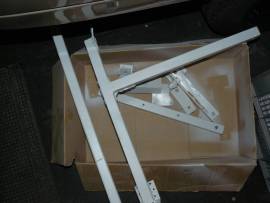
Battery box frame in raw condition.
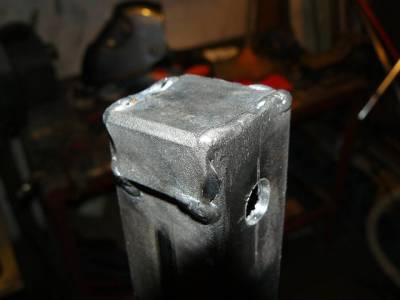
As Marco had advised me, I took care that the ends of the beams are properly closed.
For a good rust protection, the components of battery box frame are sent for sand-blasting and for getting a coating of two-component primer. Followed by the usual silver make-up.
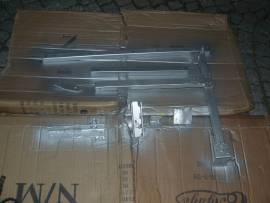
Battery box frame, re-assembled.

